If you’ve spent five minutes on Pinterest looking for easy science experiments with household items, you know the problem. Half of them are just a fun reaction with no real learning attached — baking soda volcano, sure, it fizzes, but what did anyone learn? The other half requires a supply list that sends you straight to Amazon and $40 poorer.
After years of teaching middle school science, I got really good at a third category: easy science experiments with household items you already have in your kitchen, science supply closet, or junk drawer that take one class period (or one rainy Saturday afternoon) and actually teach a concept — not just produce a fun mess.
Here are four of my favorite easy science experiments with household items, why they work, and what to do when they don’t.
Household Item Experiment #1: Ice Cream in a Bag Teaches Phase Changes
What you need: milk, sugar, vanilla, ice, ice cream salt, a quart bag, a gallon bag, and something to measure with. In the classroom, I liked graduated cylinders, but cups and teaspoons work fine at home.
The concept here is phase changes, and why salt lowers the freezing point of ice so the cream actually freezes.
This one does double duty. Yes, it’s phase-change chemistry. But it’s also secretly a lesson in following directions and measuring correctly, because if students don’t, the ice cream just doesn’t work. I watched this happen more than once: a kid would dump the salt straight into the milk-sugar-vanilla mixture instead of into the ice around it, and end up with salty milk soup instead of ice cream. It’s a great natural consequence. Nobody forgets the lesson after that.
The full instructions are available in my TPT store.
Household Item Experiment #2: The Paper Helicopter Teaches the Scientific Method
What you need: copy paper, scissors, tape, and paper clips.
The concept here is the scientific method, wrapped in an engineering design process.
The trick is that building the helicopter is only step one. I give students a working template first, so their initial build succeeds — that early win matters, especially for reluctant kids. Then the real lesson starts: they modify the design, test the change, and draw conclusions based on what happened. Bigger blades? Shorter body? More paperclips for weight? Each change is its own mini-experiment, and the whole thing becomes a loop of predict, test, observe, and revise.
Full instructions and a printable template are available in my TPT store.
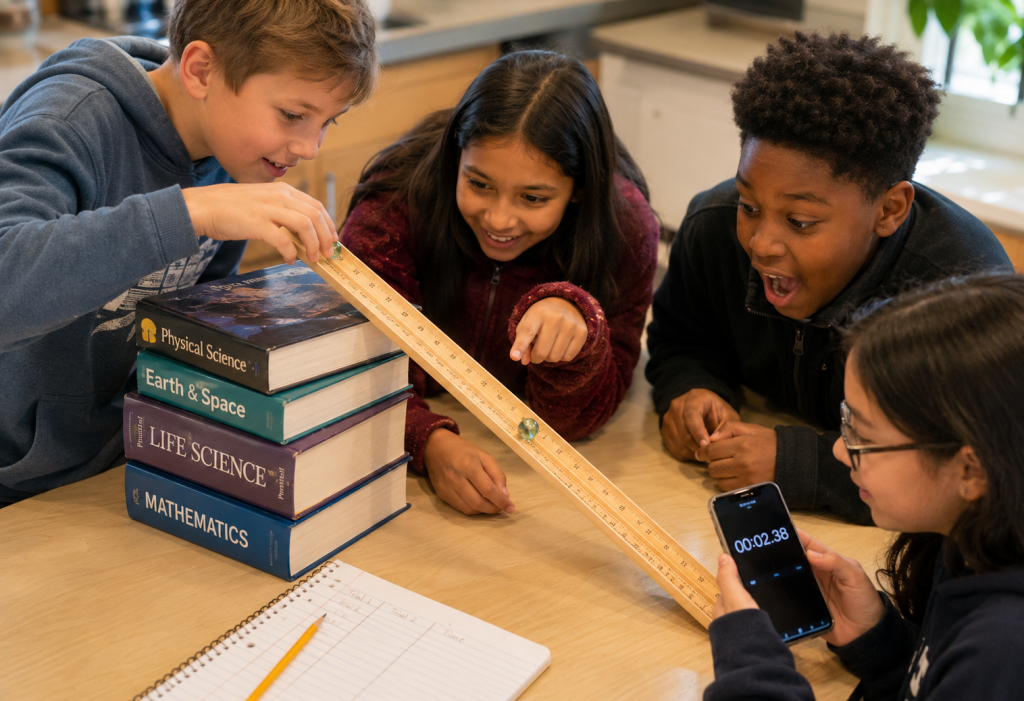
Household Item Experiment #3: Speed of a Marble Connects Motion and Math
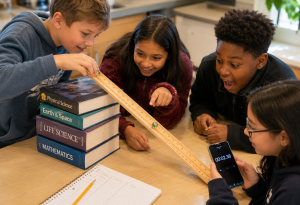
What you need: marbles, posterboard, masking tape, a ruler, and a few books.
The concept here is calculating speed, tied directly to a motion unit, and a nice bridge between math and science classes.
Build a ramp with the books and posterboard, mark off a measured distance, time the marble, and do the math. Simple setup, real data, real formula. It also lends itself naturally to the scientific method: change the ramp height, predict what’ll happen to the speed, test it, and see if you were right.
This lab is available in my TPT store.
Household Item Experiment #4: The O-Plane Is a Fresh Take on Paper Airplanes
What you need: copy paper, scissors, tape.
The concept here is the same as the helicopter: design, test, iterate, but with a design that isn’t the same paper airplane every kid has already made a hundred times.
Fair warning on this one: it can be frustrating for impatient kids, because unlike the helicopter, there’s more trial and error before a design really flies well. That frustration is actually the point, which brings me to the most important thing I want teachers to take away from all of this.
This lab and complete instructions are available in my TPT store.
What to Do When a Household Item Experiment Flops
It will. Ice cream won’t freeze. The O-plane will nosedive. The marble will fly off the ramp.
Here’s what I tell newer teachers: science is replete with failures; that’s how you learn. If scientists knew exactly how something was going to turn out, it wouldn’t be an experiment. It’d just be a demo.
A flopped experiment isn’t a wasted period. It’s the best teaching moment you’re going to get all day. When it happens, don’t rescue it, question it. I’d ask the class:
- Why do you think this didn’t work the way we expected?
- Where do you think the error happened?
- What does a scientist do when the results don’t match the hypothesis?
- What could we change to get a better result?
Then take their suggestions, adjust the design, and try again. That loop of fail, question, revise, retry is the scientific method. It’s also, not coincidentally, teaching collaboration and teamwork, which matter just as much as the content standard you’re technically covering.
Want More Easy Science Experiments With Household Items?
These four are just a starting point. I’ve got a full library of low-prep, high-concept labs like these. You can browse the Labs category on my TPT store for more easy science experiments with household items.
And if you’re a science teacher, new, experienced, or just surviving your first year, I send out four short emails a week for teachers in exactly this boat. Sunday’s edition almost always comes with a free, classroom-ready resource attached, no cost, just something you can print and use Monday morning. Join the list here.